1) Picture Perfect Posing by Roberto Valenzuela
Chapter 0: Interesting Links
Chapter 1: Understanding and Posing the Spine
Interesting Links
- Fine-art photographers like Sylvie Blum have focused much of their work contouring the human body in impossible ways.
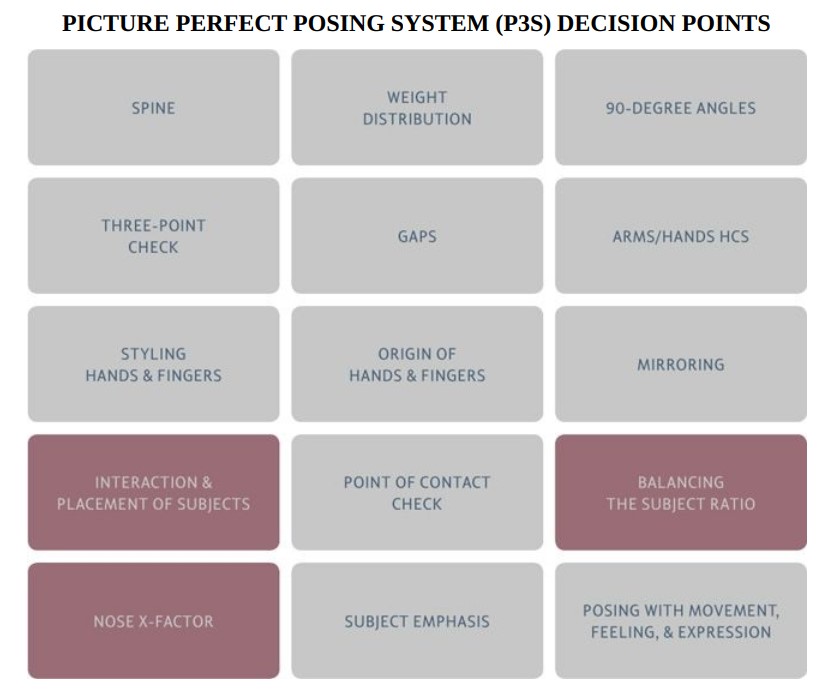
- P3S in a nutshell. The ones in dark pink are the ones to also include when posing groups.

- P3S in a nutshell. The ones in dark pink are the ones to also include when posing groups.

Understanding and Posing the Spine
Parts of a Spine
- Cervical: When photographing one p, I use the cervical spine to lift the back of the subject’s head as high as possible above the collarbone. When photographing two people
together, such as a couple, the cervical spine can be pivoted toward the other person to create a feeling of romance and interest.
Proper Posture
- In photography, we must take an acceptable posture a step further into a slightly uncomfortable state. This is why posing is hard work. If your subject is not getting
tired, you are probably not posing him/her correctly.
- Stand up and try to imagine something pulling the back of your head toward the ceiling. Specifying the back of the head is important, because if you specify the front of the head, most subjects will tilt their chins up. We don't want that - we want the back of the head higher without affecting the position of the chin. This will also have the side effect of elongating the spine.
- Drop your shoulders toward the ground, and back, by a couple of inches. This expands the chest, placing more emphasis on the head, and also helps the subject appear confident and strong.
- Breathe in. This will cause the subject to straighten up and stretch. Breathing out has the opposite effect. I always ask my subjects to breathe "in" deeply, and when they are past the halfway point of their breathing-in capability, that’s when I take the photo. Making the effort to gasp for a bit more air to breathe in does not look very flattering. So don’t wait until the top of their breath to take the photo.